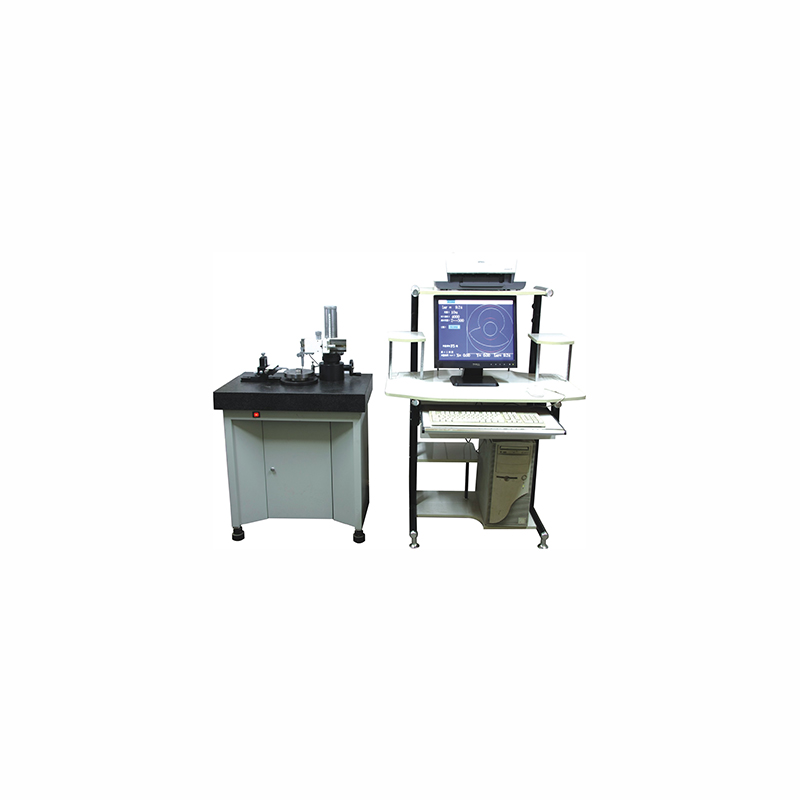
Features of High speed roundness measuring instrument:
High efficiency: motor speed 60-115r/min
The fastest measuring beat can reach 5-10s/ piece
High precision: high precision air bearing as the rotary reference, and electric sensor as the signal acquisition element
Air float spindle accuracy: 0.025 μm
Overall measurement accuracy: 0.05-0.08 μm
The measured surface protection: Both the probe and the centering contact are made of nylon material to protect the measured surface. Although there is a certain attenuation
in the measurement of waviness, it does not affect the spectral composition determination and machine adjustment.
High stability: The instrument maintains measurement accuracy for a long term under normal maintenance.
High speed roundness measuring instrument | Y9014G | Y9020G | Y9025G | Y9030G |
Measuring range (mm) | Inner diameter >φ5 | Inner diameter> φ10 | Inner diameter> φ10 | Inner diameter> φ10 |
Outer diameter<φ140 | Outer diameter<φ200 | Outer diameter<φ250 | Outer diameter<φ300 | |
Steel ball clamp: three measuring sections φ5-φ10, φ10-φ25, φ25-φ40 | ||||
Spindle speed | 115r/min (50Hz) | 60r/min (50Hz) | ||
Measuring efficiency | 50-120 pcs/hour | 30-60 pcs/hour | ||
Spindle accuracy | ±0.02μm | |||
System accuracy | 0.08μm | |||
Resolution | 0.01μm | |||
Filter | 2-15, 2-50, 2-150, 2-500, 15-500, 15-250, 15-500 | |||
Magnification | 100, 200, 400, 800, 1000, 2000,4000, 8000, 10000, 20000, 40000, 80000 | |||
Assessment method | Least squares circle (LSC), Minimum zone circle (MZC), Minimum circumferential circle (MCC), Maximum inscribed circle (MIC) | |||
Other functions | Harmonic analysis, slope analysis, graphic display, printing, data storage | |||
Spindle work pressure | 0.4-0.43MPa | |||
Air supply pressure | 0.45-0.6MPa | |||
Environmental requirements | Temperature: 10-30℃ Relative humidity:<85% | |||
Power requirements | 400W; Alternating current (AC) 220V±10%; 50HZ | |||
Spare parts | Steel ball clamp, high precision chuck for needle roller, ceramic ball clamp | |||
Outer dimension | Mechanical: 650*450*1100 Electrical: 1000*560*1400 | |||
Standard components | Sensors (two pieces), Chuck table (two pieces), Oval standard components (Calibration magnification), Standard glass hemisphere (Standard system accuracy) | |||
Measuring software | Windows XP system, CVI Development platform, Special measuring software | |||


